Flashing Components — Sponsored by Mortar Net Solutions
Words: Steven Fechino
Words: Steven Fechino
Photos: Mortar Net Solutions
Flashing components are as important to the flashing system as the selection of membrane when it comes to keeping the building dry. Flashing is not something that can be installed somewhat correctly. It has to be correct. The money and time required to “re-do” flashing comes straight out of your pocket as a contractor. Here is an informal discussion about components and opinions that are based from learning things in this trade- in some cases, the hard, expensive way.
Many of the folks reading this publication are those who have decided to make their living in the masonry trade and take pride in what they do. It is important to note here that we have the time to look at this magazine, and many of us are no longer in the field installing the flashing products. Our crews are our lifeblood and their commitment to quality is our legacy, but sometimes, even the best of the best on our crews may fall short on a traditional flashing once in a while. It happens, and it happened to me. The purpose of this article is to help you see what is available and the value it could add to your bottom line.
Components
The use of prefabricated components is not the only way to flash a building, but they can, in some cases, give the installer that has less training the same ability to flash a building as a more experienced mechanic. Here is an example: many masons that flash their own work use a selected person to perform the flashing task over and over. This is not typically who I am talking about. It is when your labor situation is thin, and someone new has to install the end dam over a masonry opening. You can pull and fold an end dam. This can easily be installed upside down and create a leak. Another method is you can pull the end of your flashing and place it in the head joint. Once it is trimmed, this too can sag out of place, creating a leak. These two options have been performed successfully, that is not what we are saying here. Can we make it easier to do with less trained employees and a better sense of security? The answer is yes.

The simple solution is to just use a prefabricated end dam. In doing a cost study of the time it takes to do the two methods above verses purchasing an end dam, you might be surprised at how close the cost of the mentioned utilization of the current flashing is against the cost of an end dam. Here is where it becomes worthy of a second look at the component choice. When you do either of the methods of flashing termination that we discussed above, in both cases, the actual flashing creates the termination after the effort has been made to reach the end of the flashing, then adding to the length and hopefully not cutting anything short.
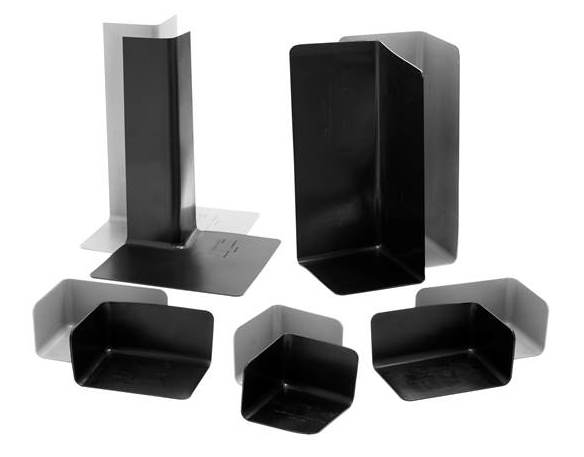
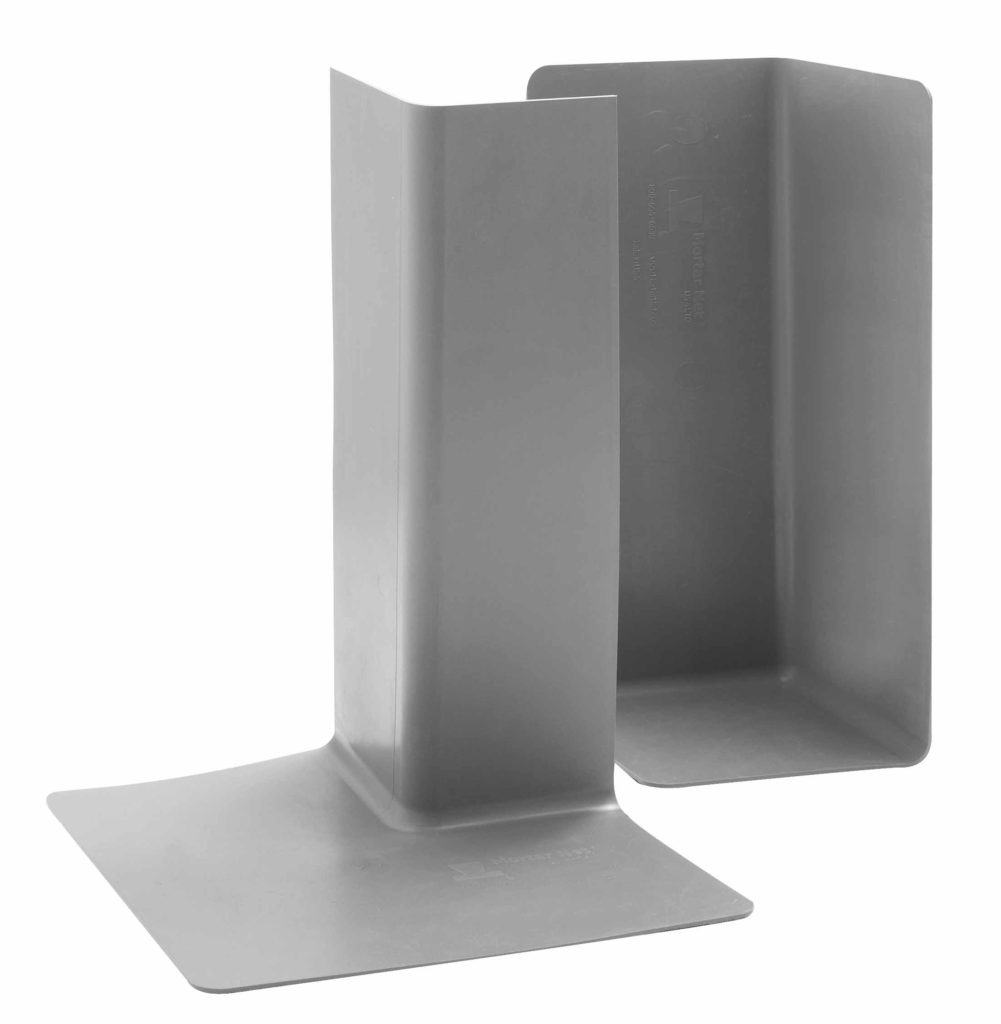
With an end dam, it becomes quick and simple, if you have an 8’-0” window rough opening, you simply cut a piece of flashing 9’-0”, grab two end dams, term-bar, anchors and some sealant and you are ready to go. The additional foot of flashing gives the flashing 6” of bearing on both sides. The end dam will be long enough to bond to the flashing and fill the required head joint by just sliding the end dam out a little bit. It is quick and requires less thought than creating your own end dam or pulling and tucking your flashing. Time is money, and with the expense of labor, burden, and general conditions, every small decision to make an improvement is one that adds to the bottom line.
I have had more than one bricklayer say that the amount of water that collects on the flashing is minimal, and to just let it fall off the ends of the flashing because it will just dissipate in the cavity and will not be any sort of issue. Ok, it may work once or twice, but I am calling nonsense on this practice. I would not do flashing on my house without an end dam, and I would not sit and watch you do it on yours.
Materials
Materials that are used for end dams typically are a synthetic rubber or stainless steel. Stainless steel and synthetic rubber both are excellent choices for an end dam. The stainless steel is typically formed and soldiered and is a bit more difficult to trim when necessary, requiring a shear to make the cut. Carborundum is the trade name for silicon carbide blades and they are not recommended for cutting stainless steel because they can leave residue that can tarnish exposed brick or stonework after installation due to the passage of moisture.
Synthetic Rubber end dams are injection-formed and require simple trimming with a knife to pre-fit to your required dimensions. Depending on the membrane that is chosen for the project, bonding the end dam to the flashing can create additional issues. Many of the polymer-modified flashings that are currently on the market require sealants or adhesives that will bond to materials with a higher surface energy. An example of surface energy is like when you try to write on something plastic with a marker, and the ink just does not stick and sort of repels the plastic. That is the same reaction that an incompatible sealant will have on a polymer-modified sealant membrane.

Here is another example. I have a customer that wanted to substitute our recommended sealant for a polyurethane elastomeric sealant that is readily available in his local distributor on a flashing that is coated with polypropylene. He told me that his “guy” told him it adhered fine, and he wanted to proceed. Based on the chemistry, we explained that the sealant would simply peel off once it cured, and he agreed to hold off laying stone through the weekend in that location to see what would happen. On Monday, he actually called me, and he was glad he did not lay stone in front of his flashing. I have run out of material, what can I do?
Ok, here is where some of the “problem phone calls” begin when we are asked for help. First, know exactly where you start and stop using the specified materials if you need to make a change. This will document where you may have an issue down the road, and the limits of what would need to be repaired. Second, let us know what temperatures you have as a daily high and low, along with the membrane you are trying to work with. We will also need to know if the substrate is clean and dry or cold and wet. All this information will give us a chance to help you get going until the specified materials can be delivered to your site. In most cases that I see, the project will be better off if the contractor simply covers the work area, keeping it clean and dry and moving to another location to work for a day or so.
How can I say this? Well, two reasons. One, I have been in this predicament, and two, if you use a polyurethane or a silicone under the drip edge and behind the term bar there is a chance that you may have a good bond on a dry substrate, but if it is wet then you are simply out of luck and will need to wait. If a polyether sealant is used in the same application, then you will be in luck on the wet and dry substrate and behind the term then have a good chance to seal the laps if the sealant is matched to the flashing.
There is a product that solves many of these issues, and that is butyl sealant. Butyl sealant is compatible with EPDM, Polypropylene, polyurethane, Thermoplastic (PVC), Thermoplastic Polyolefin, and metal flashings, which covers the spectrum of available flashings. Many of the mastics used in the late 1990s and early 2000s will not be compatible with the polymer modified flashing membranes available today. Compatibility should be investigated before use by contacting the technical department of the manufacturer. This way, you get an answer based on the chemistry of the materials.
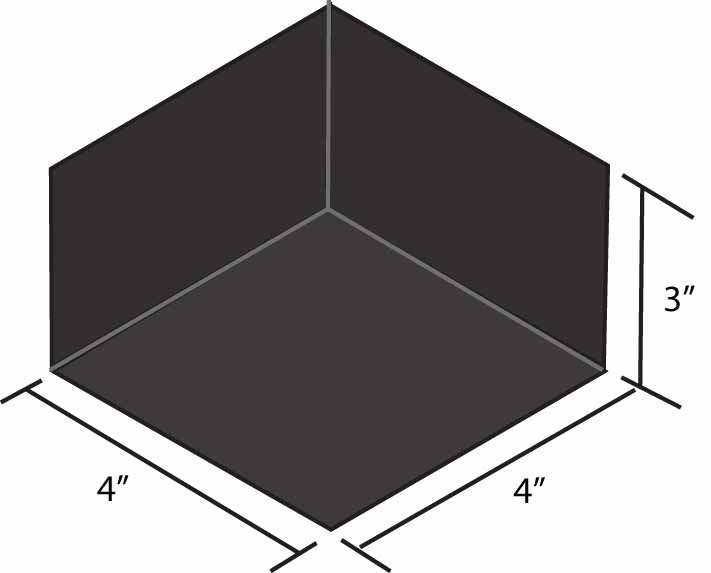
Corner boots fall into the same economic considerations as the end dams. As a contractor, the evaluation of cost is made by the time it takes to make them against the cost for purchase and the reliability of the product. Installation of the corners also makes fitting the flashing membrane easier as it allows for flashing terminations to be sealed on top of the corner boots, which in turn can save on the risk and the dollars.

The bottom line is I understand that making the change comes with uncertainty of change and the thought of higher material cost. I do work just like everyone else, and I have had to make the choices myself. When a labor savings is promised based on material performance, I am always wary of the change, but I can honestly say that when labor savings can be seen and compared to the increased material expense, that is when the choice to try something new has a payoff.